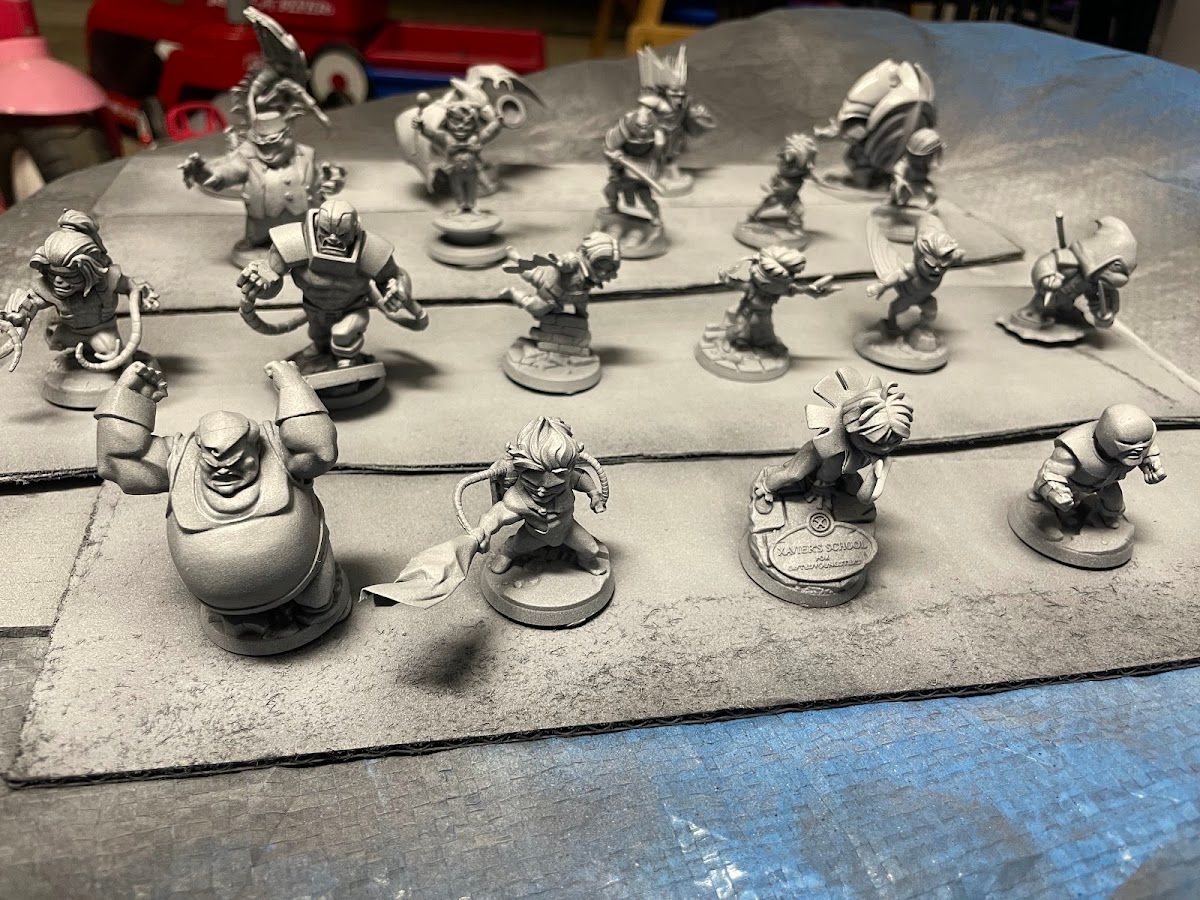
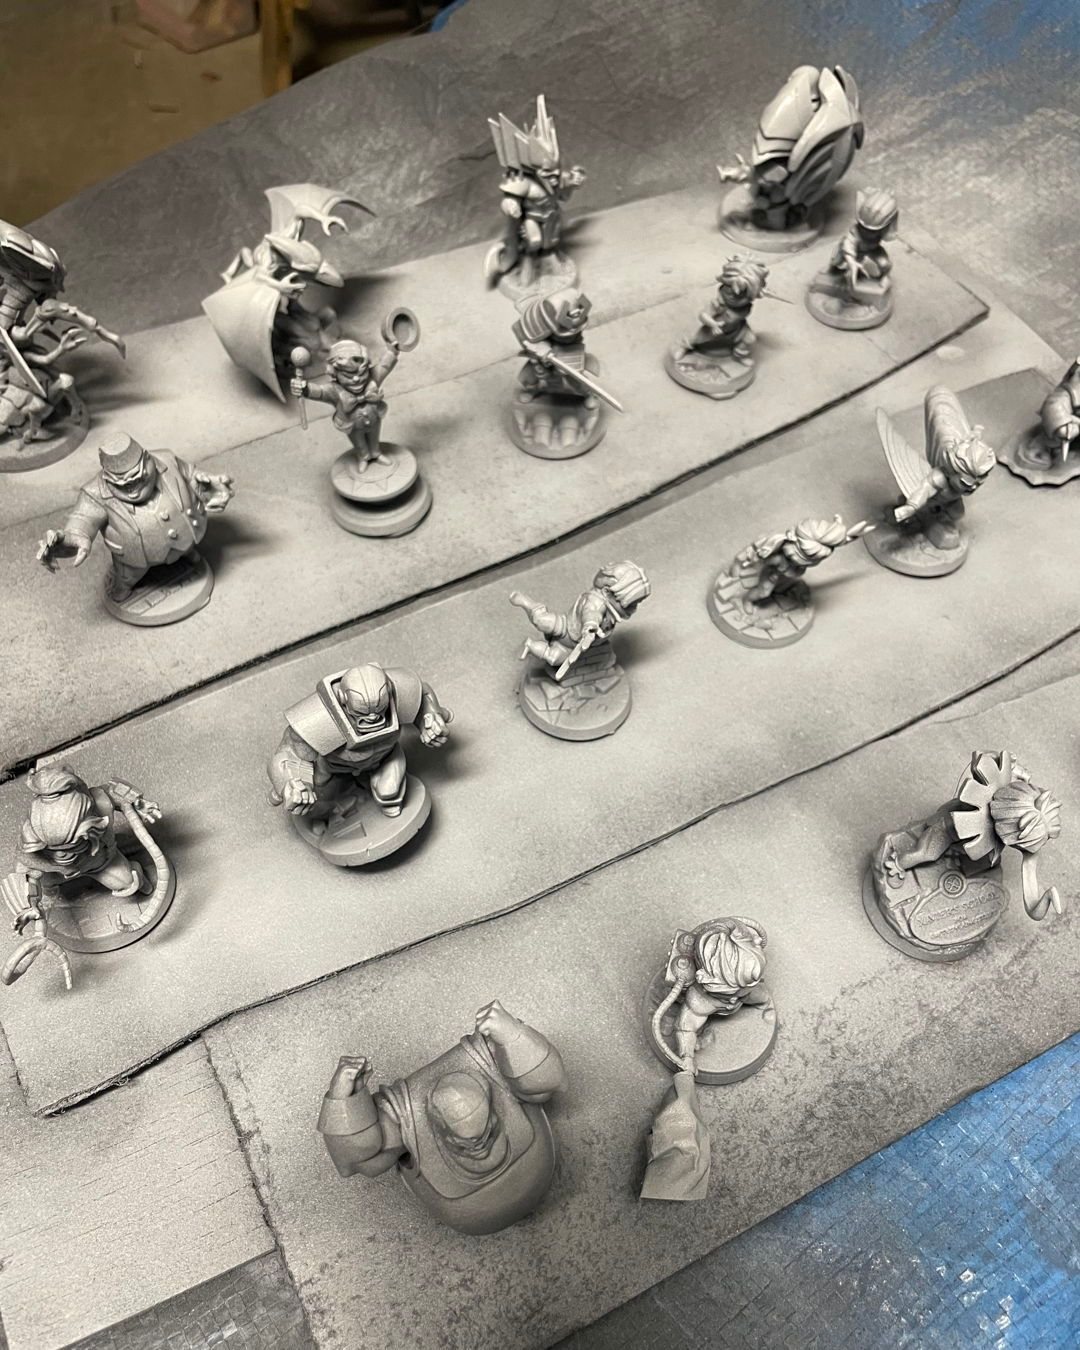
Priming is the least glamorous step in the hobby, and one of the most important. It's also one of the easiest to batch. I'd rather spend one session priming a whole shelf of minis for future me than stop and prime every time I want to paint something.
Why this matters
Paint grips primer much better than bare plastic or resin, and primer shows you mold lines and gaps you missed. Batching it means the boring prep happens once, and every mini on the shelf is ready to paint the moment you feel like painting. That's a huge help for getting out of a slump.
The short version
I prime in batches with inexpensive rattlecan primers from the hardware store. You don't need a fancy hobby spray: I use Rust-Oleum Painter's Touch 2X primer. White, grey and black are all options on the same listing (it's in the gear box on this page, and it's an affiliate link, so using it supports me 🙌). The color depends on the game:
- Grey or white for bright, colorful minis like Marvel United
- Black or white for darker, grittier stuff like Marvel Zombies and Warhammer
Line the minis up on something disposable, hold the can 6 to 12 inches away, and build the primer up with lots of quick, thin passes from every angle. More thin passes beat one thick spray. Let them dry fully, and done.
Why primer color matters
Primer color sets the starting point for every color on top.
- White makes bright colors pop and look clean, but shadows have to be painted in, and any missed spot shows up as bright white.
- Grey is the middle ground. Colors stay fairly bright, and it's forgiving if a recess doesn't get full coverage.
- Black gives you shadows for free and makes dark, gritty or metallic minis faster, but bright colors need extra coats.
My batch setup
- Clean up the minis first. Mold lines and flash are much easier to see and fix before primer.
- Line them up on something disposable. I use strips of foam on a tarp. Spacing them out lets the spray reach every side.
- Check the humidity first. Rattlecan primer goes on best somewhere around 40 to 60% humidity. I just do a quick search for the humidity before I head out to the garage. The day I cleared my whole Crisis Protocol backlog it was about 45%.
- Spray somewhere well ventilated. I don't usually wear a respirator for a quick batch, only when I'm priming for a long time. For me it's more of an airbrush-session thing.
- Hold the can 6 to 12 inches away. Start spraying pointed away from the minis, then sweep quickly across the whole batch. You're after a thin layer, not full coverage in one go.
- Repeat from every angle. Go again from the front, back, sides and above, and don't forget to spray up underneath capes and coats. More thin passes are better than one thick spray that fills in the detail.
- Let it dry fully before you start painting.
Big batches mean a lot of button pressing, and my hands cramp up sometimes. A clip-on trigger handle turns the rattlecan into a little spray gun, which makes long sessions a lot more comfortable (it's in the gear box on this page).
Once you've got a black-primed batch, a couple of white swipes from above gets you a quick zenithal for free contrast. These days I also prime with the airbrush, but I didn't move on to that for a long time, and rattlecans did the job fine until then (more on easing into the airbrush).
Tradeoffs
- Rattlecan vs. airbrush. Rattlecans are cheap and fast for big batches, but they need decent weather (roughly 40 to 60% humidity, and not too cold). An airbrush is more controlled and works indoors, but it's more setup and cleanup.
- Brand primer vs. hardware store. Hobby-brand primers are finer and made for minis. Hardware-store primer is much cheaper and has worked fine for me.
- Batch size. Bigger batches save time, but only prime what you'll paint in the next few months, so dust doesn't settle on everything.
Checklist
- Mold lines cleaned
- Humidity somewhere around 40 to 60%
- Primer color chosen for the game
- Minis spaced out on something disposable
- Somewhere ventilated (respirator for long sessions)
- Can 6 to 12 inches away, start pointed off the minis
- Lots of quick thin sweeps from every angle, including under capes
- Dry fully before painting
Next: once they're primed, magnetize the whole batch so they store and travel easily.